You could control access to your website or sensitive sections using password protection.
Passwords help keep private and sensitive information safe, providing the first line of defense against unauthorized access and malicious intents.
Luckily, setting up password protection for a website or subdirectory is pretty straightforward, and you could do this using two files—the .htaccess and .htpasswd files.
So, let’s examine how.
Setting Up the .htpasswd File
The .htpasswd file stores the username and passwords for accessing the page. Most web server software like Apache uses the file to verify users via HTTP authentications.
It stores the username and password on each line, delimiting the username and password with a colon. The file can also store passwords in encrypted form to keep them safe and out of prying eyes.
Here’s how to create the .htpasswd file, encrypt your passwords and store them in the file.
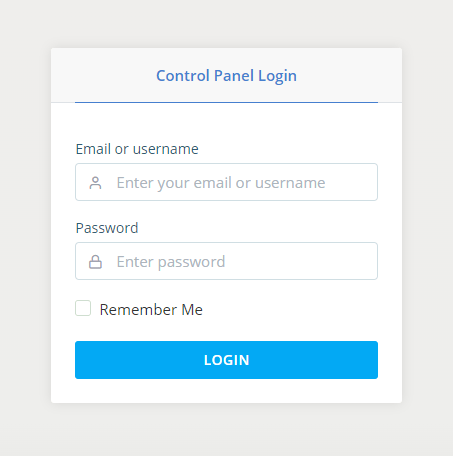
Step 1: Log into SPanel’s User Interface.
The default login URL is https://yourdomain.com/spanel (don’t forget to replace yourdomain.com with your actual domain name).
Step 2: Open the File Manager
On SPanel’s homepage, scroll down to the FILES section and click File manager.

Step 3: Create the .htpasswd File
In the home directory, click the New File/Folder icon and select New File.
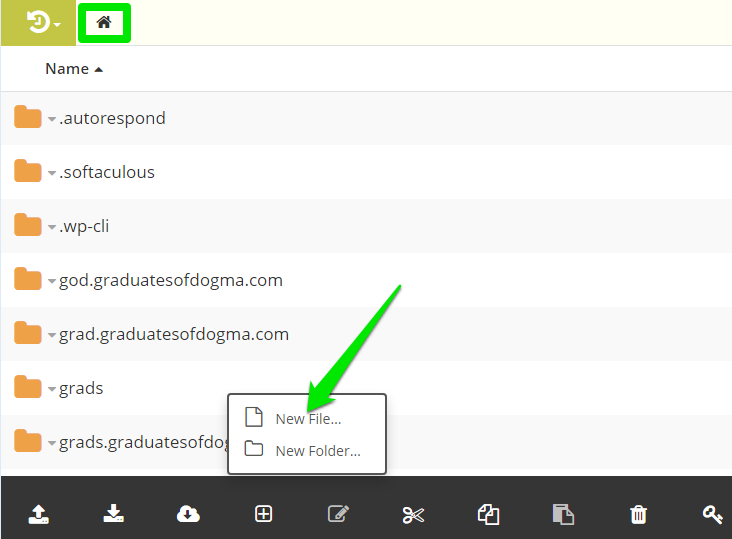
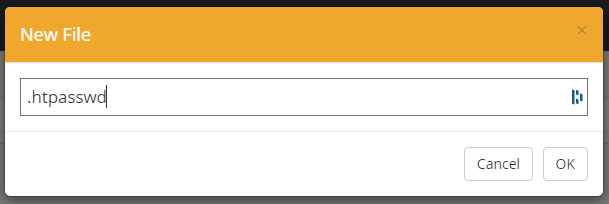
Create a new file named .htpasswd and save.
Step 4: Encrypt Your Password
You can create an encrypted password using some free online tools like AskApache HTPasswd Generator.
To get started, open the free tool on a new tab, enter the username and password you wish to use to access the page in the username and password fields, respectively.
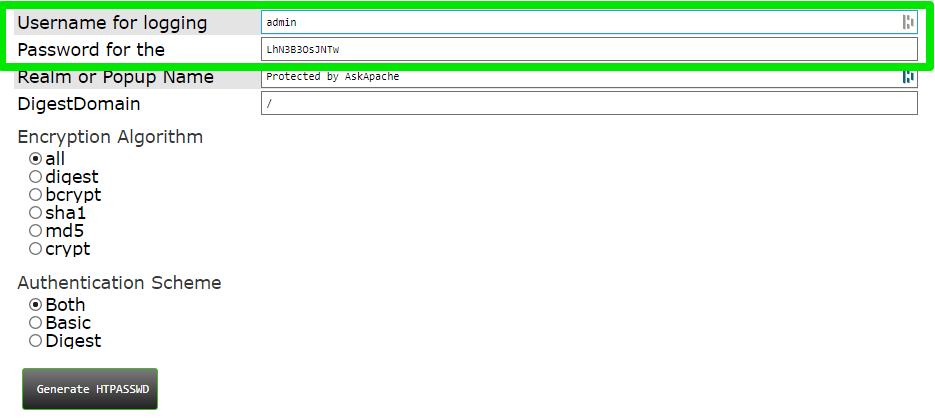
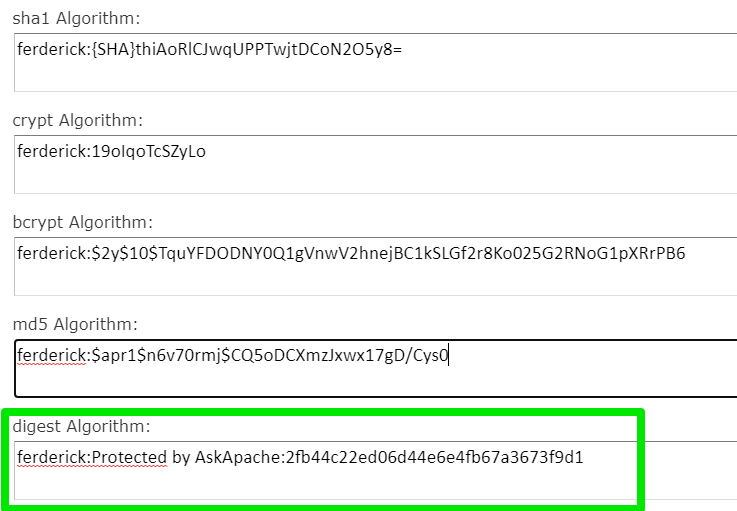
Select Basic as the Authentication Scheme, ignore the other option and click the Generate HTPASSWD button to encrypt your password.
Step 5: Save Your Encrypted Password in the .htpasswd File
If you selected “all” as the Encryption Algorithm, the tool would generate five encrypted passwords. Please scroll down to the digest algorithm, the most secure of the five, and copy it to your clipboard.
Go back to the .htpasswd tab, paste the encrypted password into it, and click the Save button.
Please note that you can only sign in to your protected area with the plain text password, not the encrypted password—the encryption only protects the password from authorized uses.
Setting Up the .htaccess File
After setting up the .htpasswd file in your home directory, you’ll need to add a .htaccess file to the directory or subdirectory you wish to password protect.
The .htaccess file is a server configuration file that lets users make quick changes to their server settings. It configures the server only for the directory it’s in.
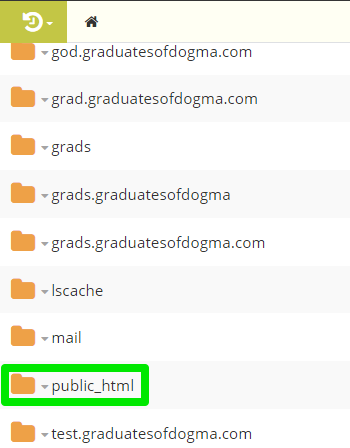
So, if you wish to password-protect your website, then you’ll need to add the file to the domain’s root directory (public_html).
But if you intend to protect a subdirectory, for instance, www.domain.com/intranet, then open the root directory and place the file in the “intranet” folder.
As a server configuration file, any error or misconfiguration on the .htaccess will affect your website.
Follow these steps to set up the .htaccess file.
Step 1: Open Your Web Directory
Open the File Manager and navigate to folder you wish to password protect.
Please select the public_html folder if you wish to password protect the entire website, as explained earlier, or open it and select a subdirectory folder.
Step 2: Create the .htaccess File
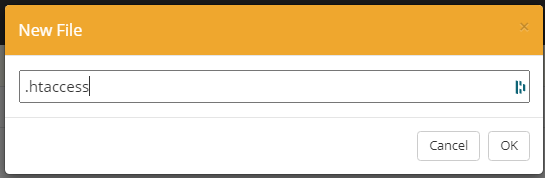
In the folder, click the New File/Folder icon and select New File to create the .htaccess file if the file is non-existent in that folder.
Please name the file .htaccess and save the changes.
Step 4: Add Your Code
Now, to password-protect the directory with the username and password you saved in the .htpasswd file, add these lines of code to your newly created or existing .htaccess file.
AuthType Basic
AuthName “protected area”
AuthUserFile /full/path/to/.htpasswd
require valid-user
And here are what each of the lines means:
- The AuthType defines the authentication type the server will use. “Basic” authentication is adequate for website password protection.
- The AuthName specifies the username and password box title that pops up when visitors visit the restricted page. You could use other AuthNames like “Restricted Area,” “Password Protected,” or any that appeals to you.
- The AuthUserFile defines the full file path of your username and password followed by .htpasswd. The line tells the server where to find your .htpasswd file. You could contact our support if it’s difficult identifying the file path.
- The require valid-user line tells the web server who can access the restricted page. Kindly replace valid-user with the username you saved in your .htpasswd. For instance, if your username is “Admin,” then the line should be require Admin, and it’s case sensitive.
Now, save your code and exit the file manager. You could visit the restricted domain or page to confirm that password protection is working as expected.
Sign in to your restricted area using your username and password. Of course, always use the plain-text password to log in, not the encrypted version.
Need Support?
We understand password protecting a website or subdirectory could be challenging.
So, if you run into issues setting up one, or you have questions, then reach out to our support, and we’ll be available to help.
