We’ve come a long way since the colorful HTML websites we had about twenty years ago. Those who remember the early days of the internet can tell you a lot about weirdly placed images, vibrant backgrounds, and low-res GIF animations. Web design has evolved a lot since then, but despite this, multimedia is as crucial as ever.
In fact, as users’ attention span is shrinking, the importance of images, audio, and video files is growing. You probably won’t be too surprised to learn that adding multimedia to your WordPress posts is not difficult at all.
Let’s look at what we have.
Uploading Multimedia Files to Your WordPress Website
WordPress has a central library for managing all your site’s multimedia files. To access it, log in to your WP dashboard, and go to Media > Library.
You can see all media files currently uploaded to your site. At the top, you can change the way they are laid out, and you can also filter them by type and date of upload. A search box is available to save you the time of rummaging through a large number of files.
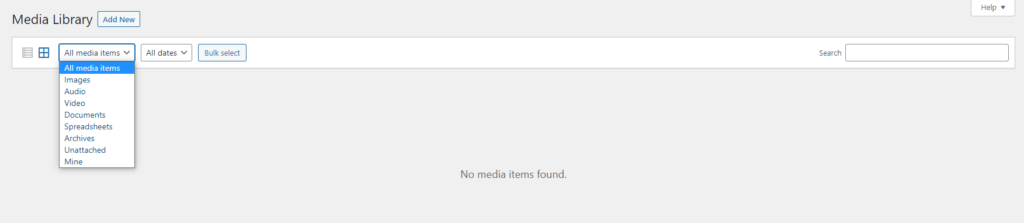
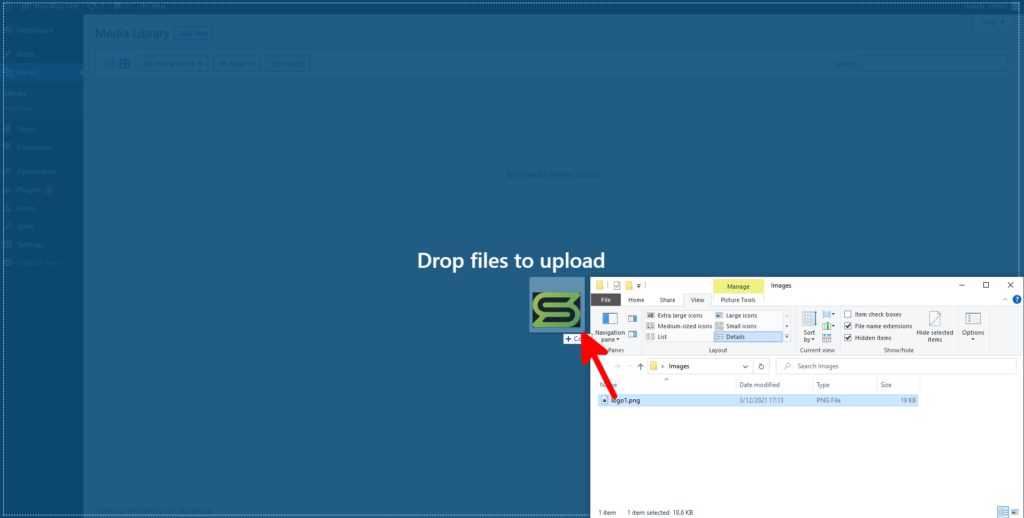
You also have an Add New button, though you could argue that it’s a bit redundant nowadays. Drag-and-drop functionality was introduced to the WordPress Media Library a while ago, so now, you can just open the folder with the multimedia files on your personal computer and drag them to the browser window.
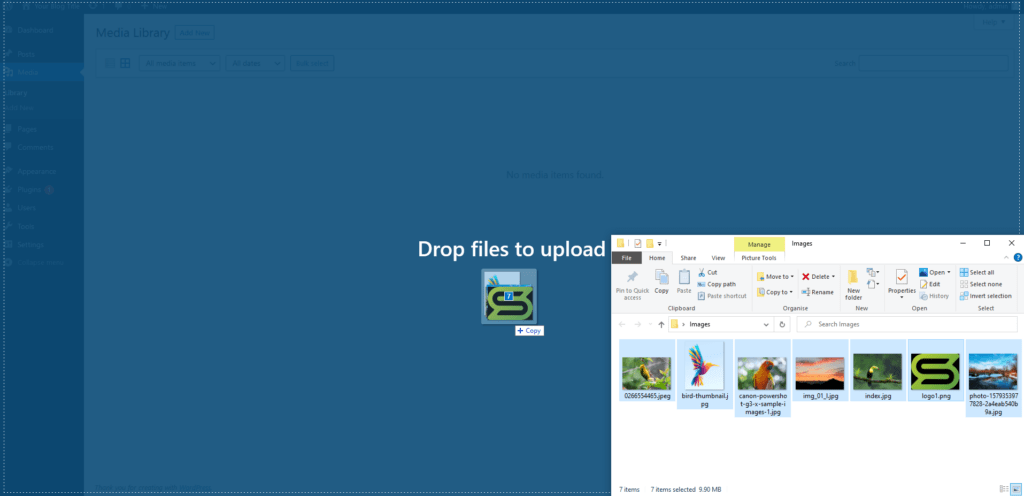
You can also drag and drop multiple files at once.
Deleting Media Files
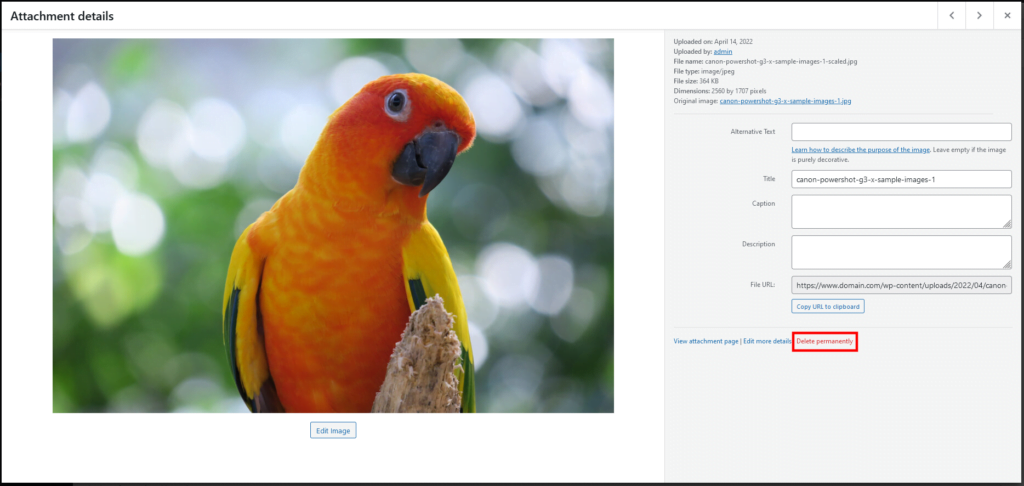
If you need to free up some storage space, you can delete multimedia files straight from the Media Library. Open it and click on the file you’d like to remove. A popup will appear with information about the file’s size, type, name, when it was uploaded, etc.
At the bottom, you can see a link saying Delete permanently. Click on it and confirm your choice by selecting OK.
Editing Images in WordPress
The WordPress Media Library also lets you edit your site’s images. Granted, the features are somewhat limited, but you do get some basic tools to optimize the picture for your design.
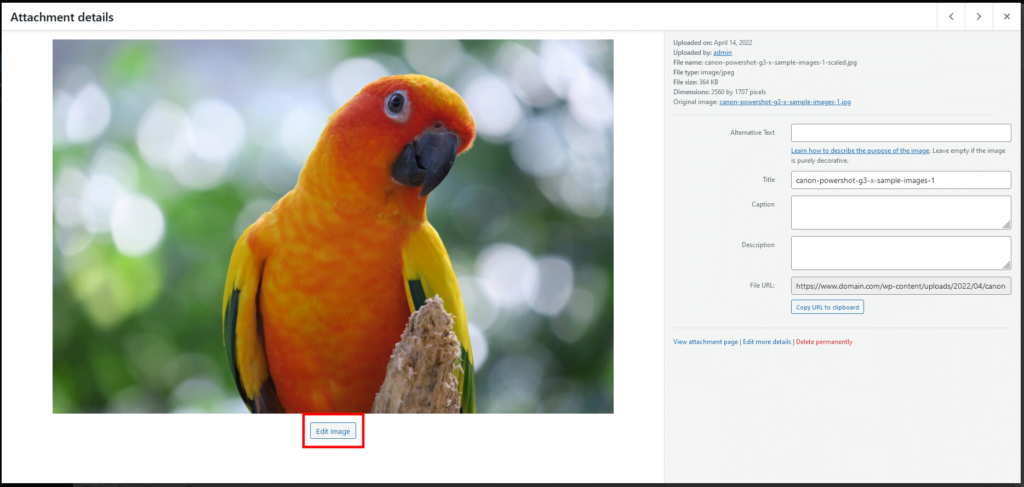
To edit an image in WordPress, navigate to the Media Library in the dashboard and click on the file to open the Attachment details popup. You’ll see a preview of the picture, and below it, there’s an Edit Image button.
Here are the functions in the image editor:
- Crop
- Rotate left
- Rotate right
- Flip vertical
- Flip horizontal
There’s an Undo button if you do something by mistake, and on the right, you can change the image’s size and crop it according to a set aspect ratio.
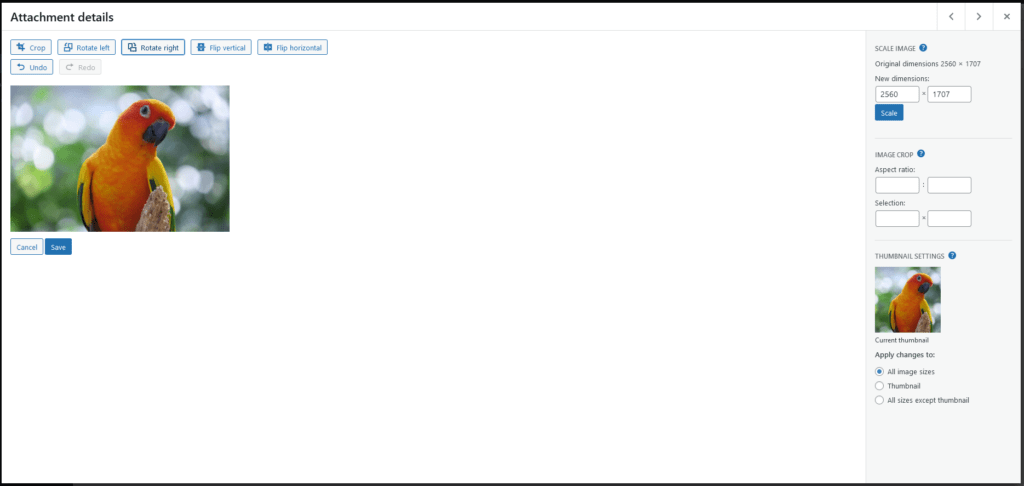
When you’re finished editing, click Save to apply the changes and update the file.
Adding Links To Multimedia Files
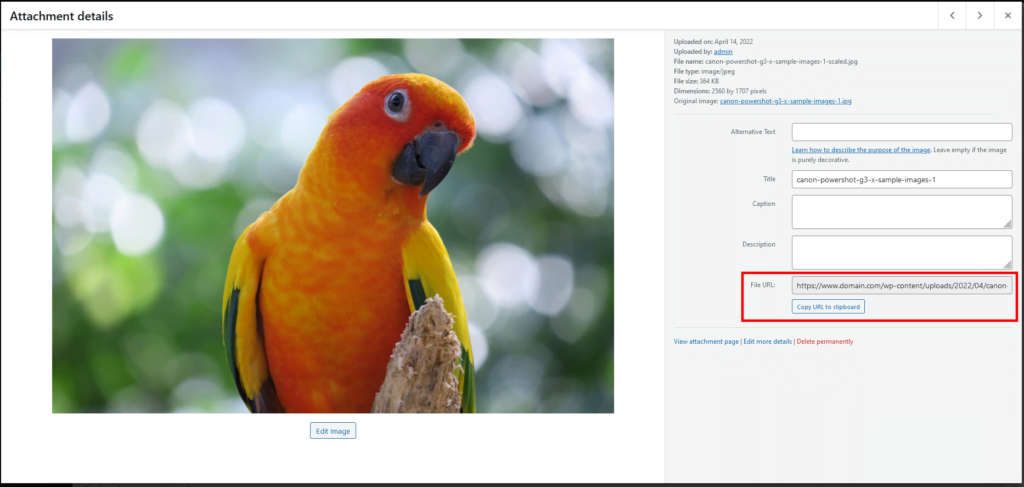
Sometimes, you might prefer to create a hyperlink to an image instead of inserting it in a post. To do that, you first need to find the file’s URL. Open the WordPress Media Library and click on the file you need.
This will open the Attachment details popup, displaying various information about the media. On the right, you should see the File URL field along with a convenient Copy URL to clipboard button underneath it. Click the button.
Go back to your post and select the text that will act as a hyperlink. Click the button that looks like a chainlink on the toolbar above the text (it is also accessible via the ctrl+k keyboard shortcut).
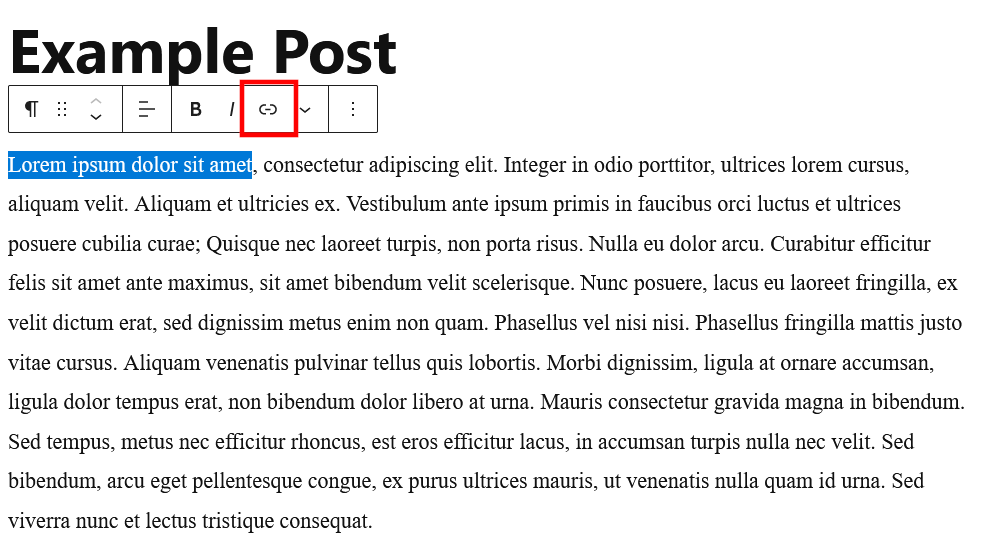
Paste the URL in the field that appears and use the toggle switch to decide whether the link will open in a new tab.

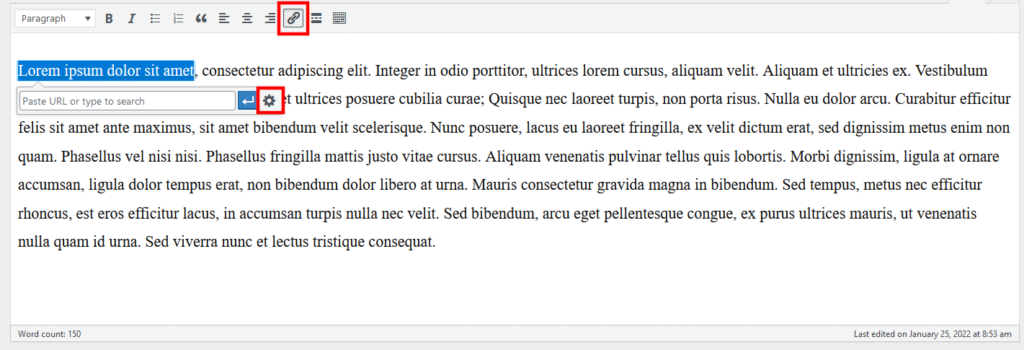
If you use the Classic WordPress editor, the chainlink button is in the main toolbar above the post. You can use the Gear icon to modify the link’s behavior.
 Inserting Multimedia Files Into a Post
 Inserting Multimedia Files Into a Post
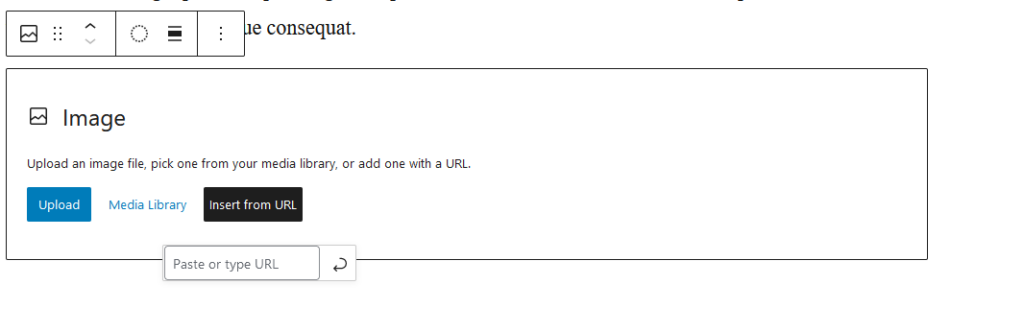
Inserting a media file into a post requires a couple of clicks. If you use the block editor, position the cursor where you want to place the image, and click the + button from the toolbar at the top.
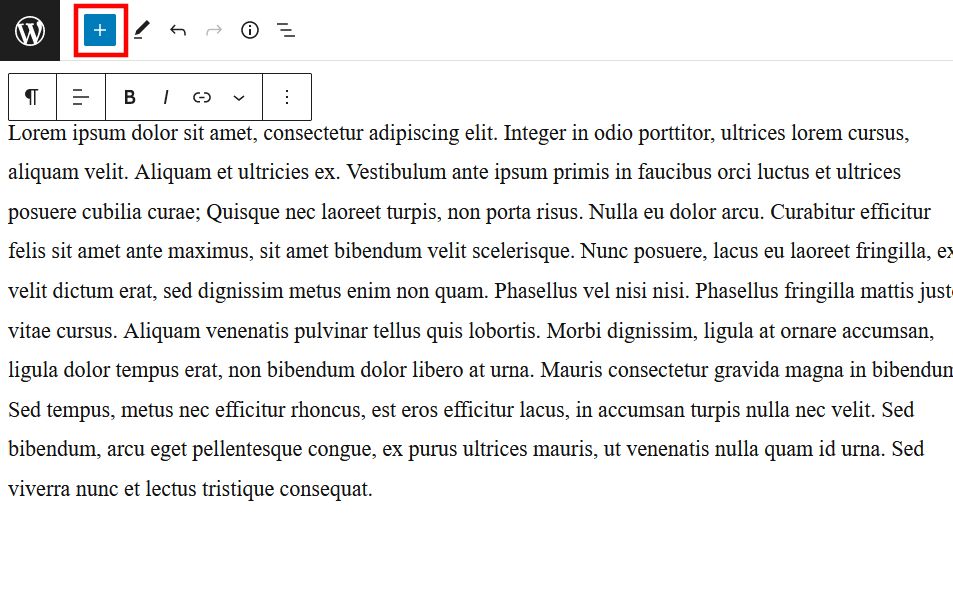
Next, click the Image icon from the menu that appears.
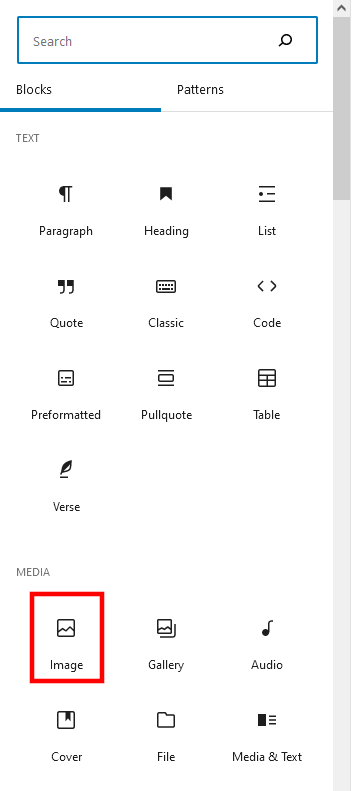
The block editor gives you three options:
- Upload – you can upload your file from your local computer. The file will automatically be saved in the Media Library.

- Media Library – WordPress opens your Media Library and lets you choose a file you’ve already uploaded. You can also save new files when the Library is opened.
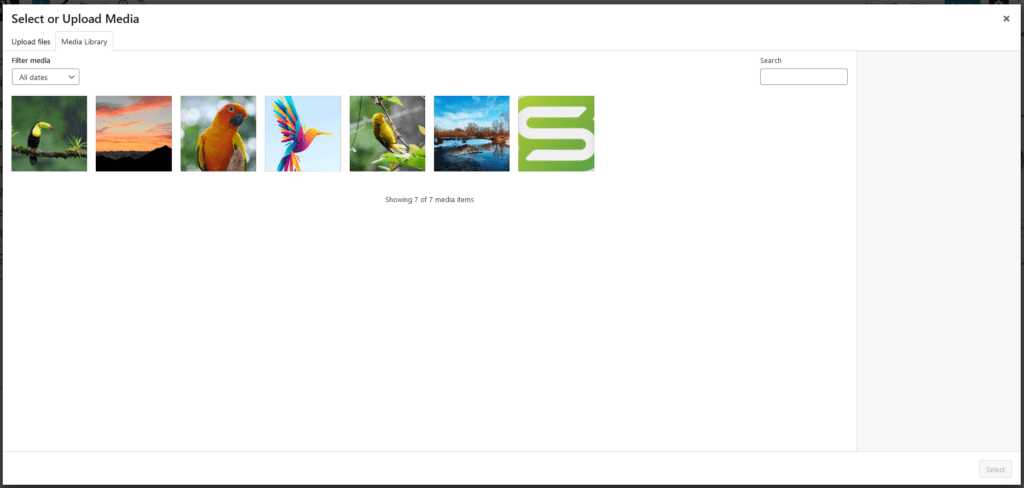
- Insert from URL – If you have the file’s URL, you can paste it into the field. If the image is hosted on an outside source, it won’t be saved in the Media Library.
When the image is inserted, you can resize it or add a caption.

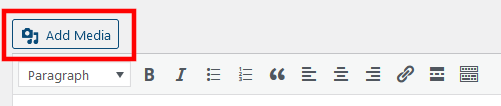
The Classic Editor gives you fewer options, but the process is more straightforward. You get an Add Media button situated straight above the main toolbar. It opens the Media Library and lets you upload a new file or select from the ones already on the server.
Adding Alt Text to Images
While examining images in your WordPress Media Library, you may notice a field labeled “Alternative Text.” It controls the so-called ALT tag in HTML, which is more important than you think.
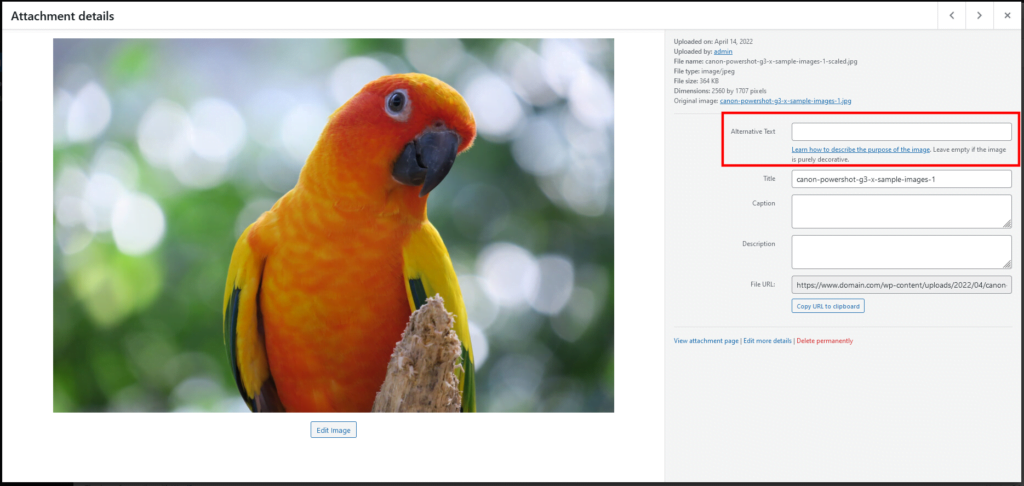
In the field, you need to enter a description of what’s depicted in the image. That way, when visually impaired people browse your website, their screen readers will be able to tell them what’s on display.
Improving your website’s accessibility is good for the entire project’s future, but this is not the only advantage of using ALT tags.
Search engine crawlers also rely on images’ alternative text to understand what’s on your website. The more ALT tags, the more information they have, and the better the chance of your website appearing at the top of the search results pages when the relevant terms are entered.
That’s why it’s important to fill in the Alternative text field on all images except for the purely decorative ones. Your descriptions should be clear, simple, and reasonably detailed without being too long.
On the one hand, this will mean that more people can reach your website because it ranks higher on the search engine results pages. On the other, it will be more useful to a wider audience.
Is Image Size Important?
When you upload a picture, WordPress saves a total of four files. It stores the image in its original size, but it also creates three other versions:
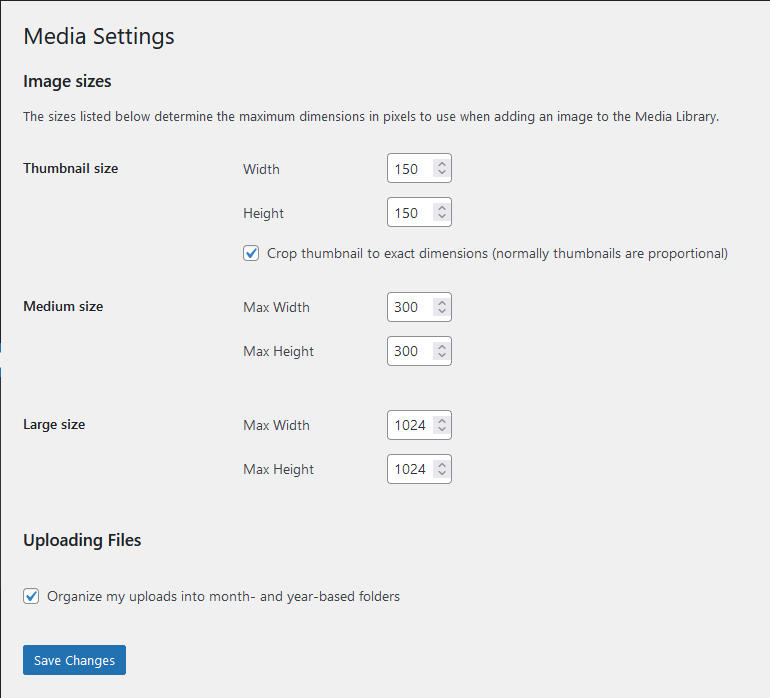
- Thumbnail (150x150px)
- Medium size (up to 300x300px)
- Large size (up to 1024x1024px)
The different sizes are created so that WordPress can use them in their respective places. For example, a thumbnail of a feature image is used in the Recent Articles widget. The medium size may be placed on the homepage, and the large size file will be displayed on the post itself.To change the size of the images, go to Settings > Media inside your WordPress dashboard.
But do you need to alter them?
Well, you want the perfect compromise between quality and size. The smaller the image, the quicker it will be loaded by visitors’ browsers. At the same time, you don’t want pixelated or smudged photos.
Smaller images can improve your site’s performance, but the impact isn’t really that huge. You have other options you might want to explore, like converting your photos to the new WEBP format or installing an image optimization plugin that can significantly speed up your WordPress website.
